Author Archives: Joanne Simmons

Inventory Item History Purge

Total Order Plus accumulates important invoice data into multiple history files on a daily basis. The files are of a dynamic, multi-keyed structure, which means they continue to increase in size and should be purged on some kind of a time table. In the Business Basis language, there is a maximum file size limit. If a file reaches the maximum, you will not be able to access the file or to down size it to it’s current size. As the file capacity increases, the size of the hard drive decreases as well.

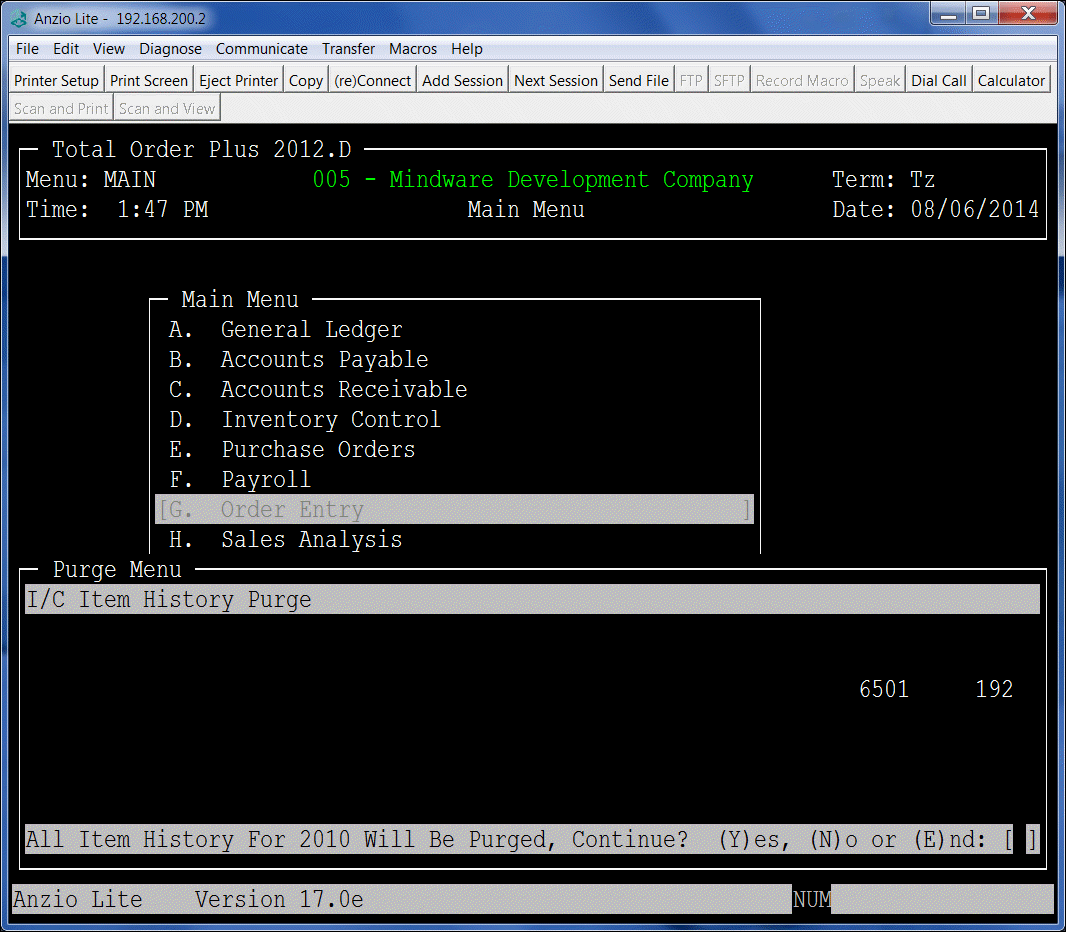
The Inventory Item History Sales Purge program is located on the PM Options Menu. To access the purge programs, type ?PM at the TOP Main Menu and Select G. I/C Item Hist. You will be asked to enter a year to purge. All item sales for that year will be purged.

The Item History Display program is on the Inventory Master Sub-Menu . There is also a hard copy print program Item History Report on the Inventory Control Report Menu.

Item_Sales_purge

Customer Product Sales Purge

Total Order Plus accumulates important invoice data into multiple history files on a daily basis. The files are of a dynamic, multi-keyed structure, which means they continue to increase in size and should be purged on some kind of a time table. In the Business Basis language, there is a maximum file size limit. If a file reaches the maximum, you will not be able to access the file or to down size it to it’s current size. As the file capacity increases, the size of the hard drive decreases as well.

The Customer Product Sales Purge program is located on the PM Options Menu. To access the purge programs, type ?PM at the TOP Main Menu and Select C. Cust Prod Sales. You will be asked to enter a year to purge. All product sales for that year will be purged.

The Customer Sales by Product display program is on the Customer Master Sub-Menu . There is also a hard copy print program on the Accounts Receivable Customer Sales Report Menu.

Purchase Order History Purge

Total Order Plus accumulates important invoice data into multiple history files on a daily basis. The files are of a dynamic, multi-keyed structure, which means they continue to increase in size and should be purged on some kind of a time table. In the Business Basis language, there is a maximum file size limit. If a file reaches the maximum, you will not be able to access the file or to down size it to it’s current size. As the file capacity increases, the size of the hard drive decreases as well.

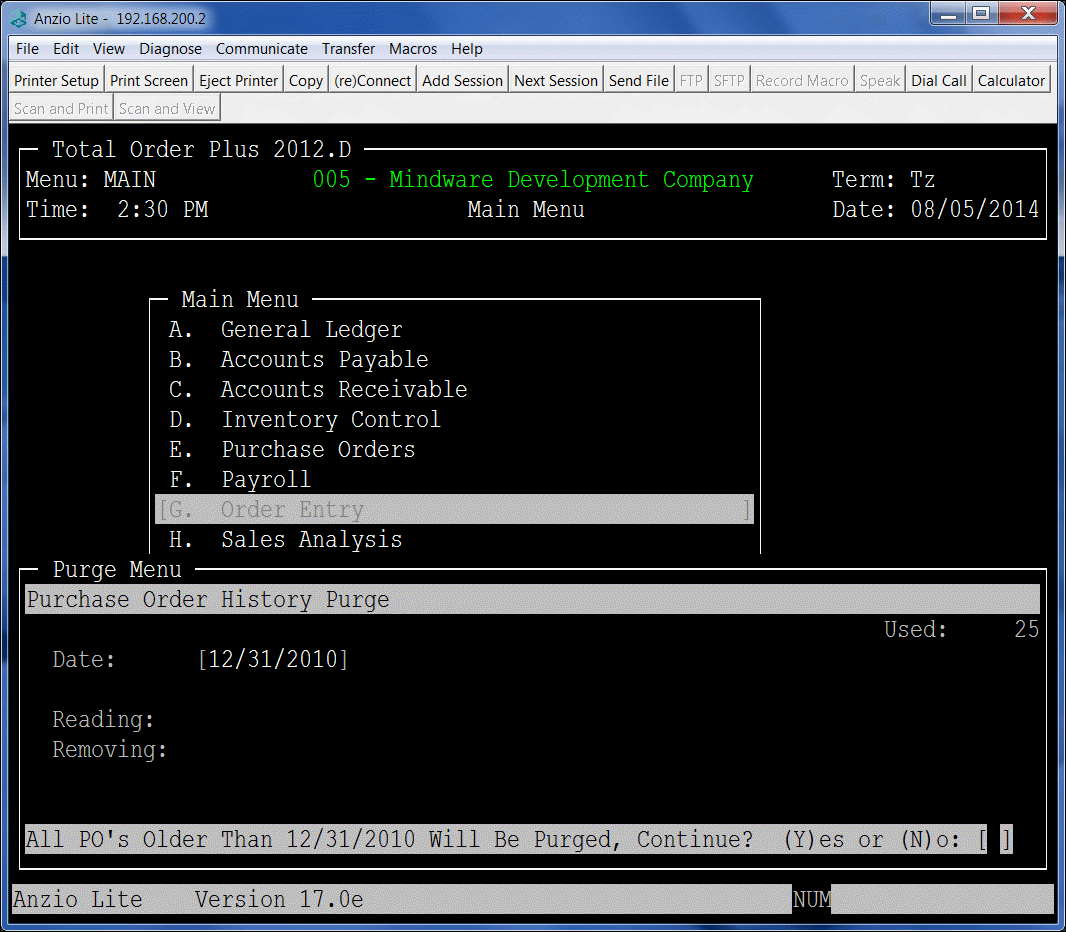
The Purchase Order History Purge program is located on the PM Options Menu. To access the purge programs, type ?PM at the TOP Main Menu and Select F. P/O PO History. You will be asked for an ending date to purge. All purchase orders older than the date entered will be purged.

The Purchase Order History display program is on the Purchase Order Options Menu. There are also hard copy print programs on the Purchase Order Report Menu.

PO_purge

Accounts Payable Invoice, Check History Purge

Total Order Plus accumulates important invoice data into multiple history files on a daily basis. The files are of a dynamic, multi-keyed structure, which means they continue to increase in size and should be purged on some kind of a time table. In the Business Basis language, there is a maximum file size limit. If a file reaches the maximum, you will not be able to access the file or to down size it to it’s current size. As the file capacity increases, the size of the hard drive decreases as well.

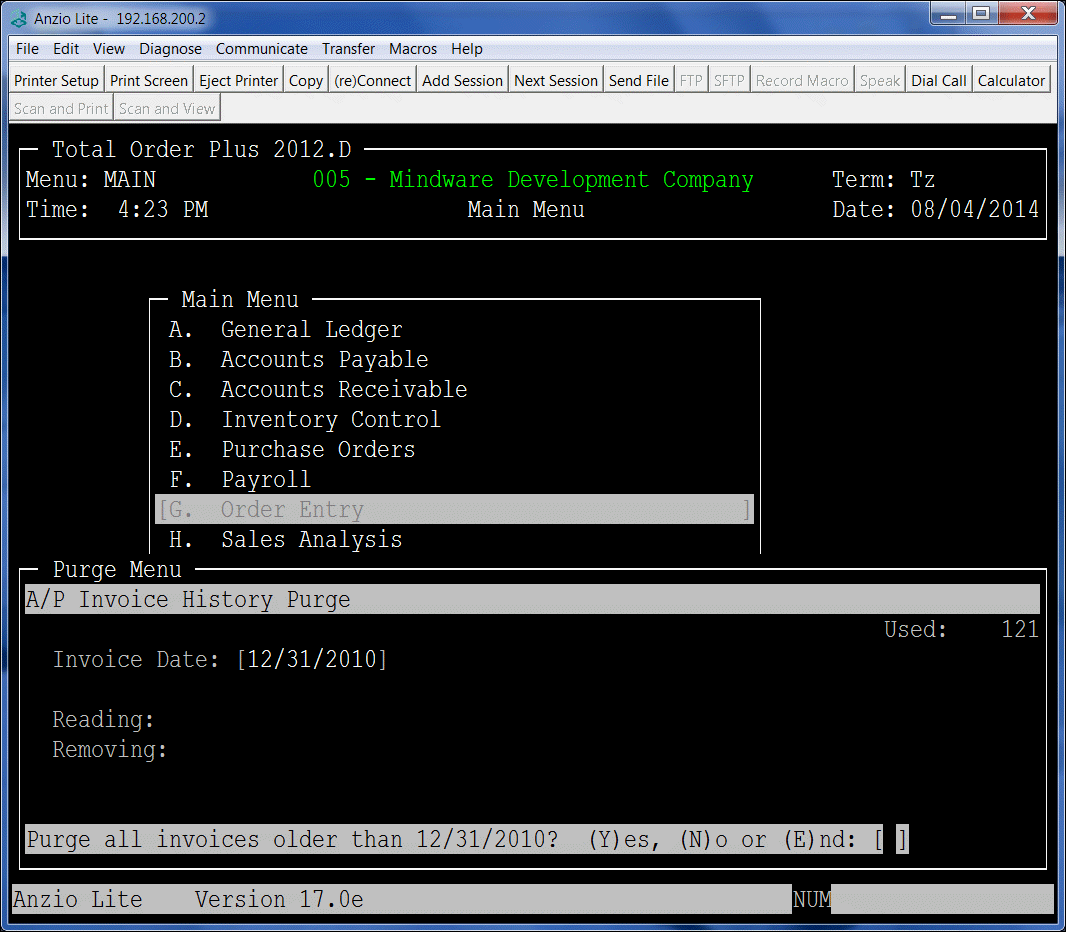
The Accounts Payable History Purge programs are located on the PM Options Menu. To access the purge programs, type ?PM at the TOP Main Menu and Select D. A/P Inv History or E. A/P Chk History. You will be asked for an ending date to purge. All invoices and checks older than the date entered will be purged.

The Accounts Payable Invoice and Check History display programs are on the Accounts Payable Options Menu. There are also hardcopy print programs on the Accounts Payable Report Menu.

Accounts_Payable_purge


Cash Receipts History Purge

Total Order Plus accumulates important invoice data into multiple history files on a daily basis. The files are of a dynamic, multi-keyed structure, which means they continue to increase in size and should be purged on some kind of a time table. In the Business Basis language, there is a maximum file size limit. If a file reaches the maximum, you will not be able to access the file or to down size it to it’s current size. As the file capacity increases, the size of the hard drive decreases as well.

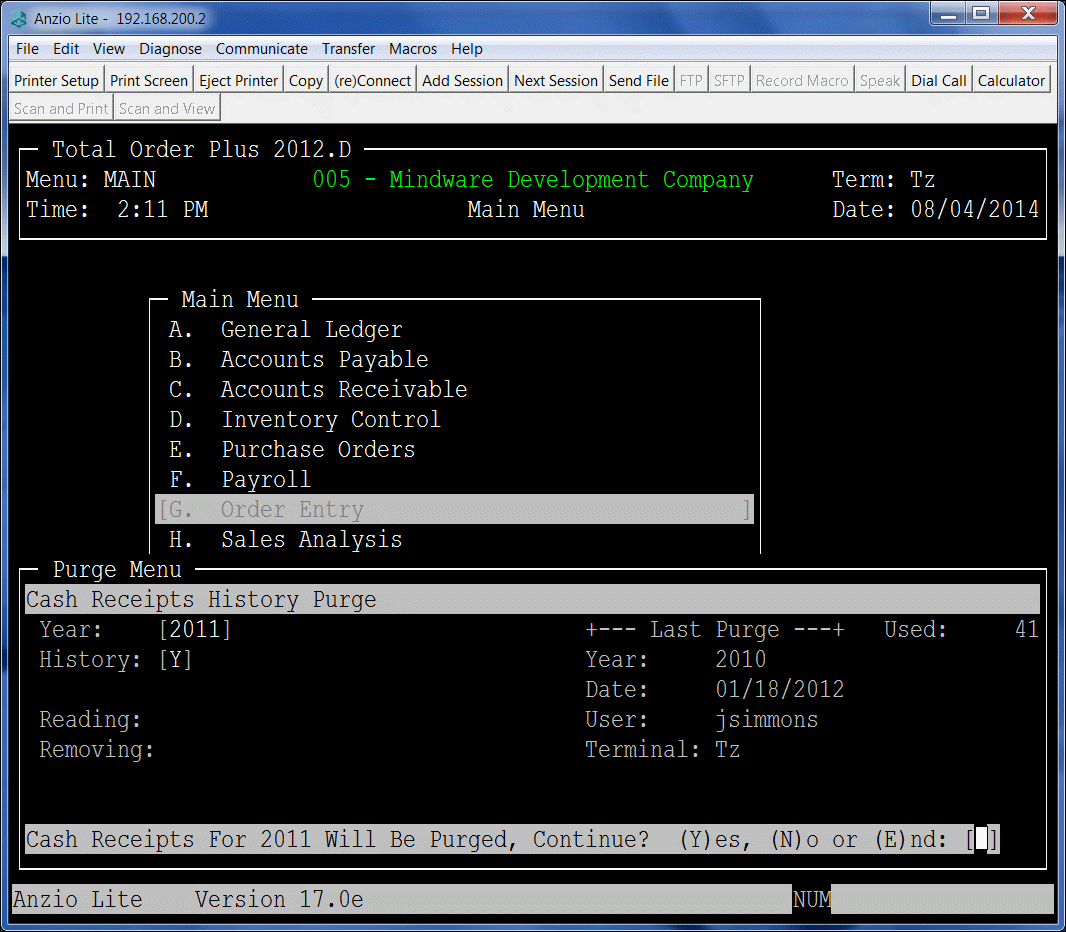
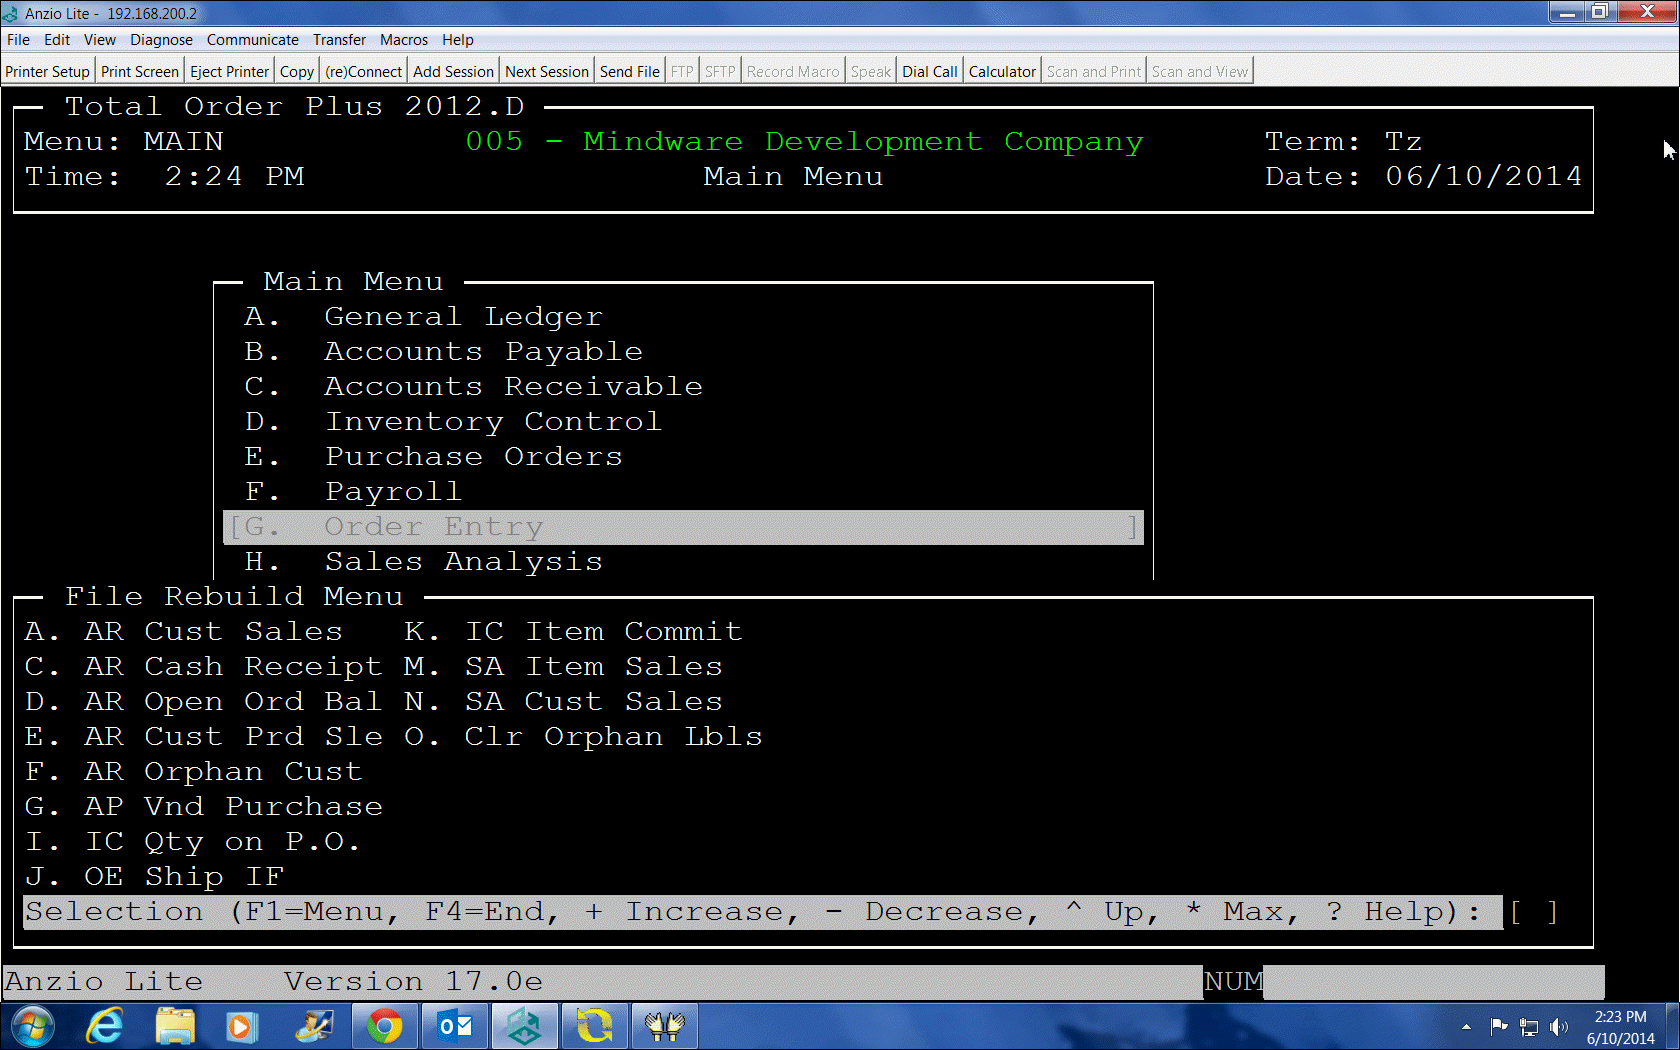
The Cash Receipts History Purge program is located on the PM Options Menu. To access the purge program, type ?PM at the TOP Main Menu and Select B. A/R C/R History. You will be asked for the year to purge.  The last year purged information is displayed on the right side of your screen. You will have the option of saving the purged data to a history folder in case you want to have access to the data through a history search.

There is a Cash Receipts History display program on the Accounts Receivable Options Menu as well as in the Find Order/Invoice Utility on the Order Entry System Menu. There are hardcopy print programs on the Accounts Receivable Report Menu.

Cash_Receiipts_purge

Order Entry Invoice History Purge

Total Order Plus accumulates important invoice data into multiple history files on a daily basis. The files are of a dynamic, multi-keyed structure, which means they continue to increase in size and should be purged on some kind of a time table. In the Business Basis language, there is a maximum file size limit. If a file reaches the maximum, you will not be able to access the file or to down size it to it’s current size. As the file capacity increases, the size of the hard drive decreases as well.

Another reason to keep the history files purged, the files are open during the order and invoice data entry programs and when you search for an invoice or item in history, the time it takes to search through thousands of invoices is considerably decreased.The purge programs are located on the PM Options Menu.

In addition to the invoice history purge, there are other purge programs for cash receipts, customer product sales,A/P invoice and check history, purchase order history and inventory history. The O/E invoice history files are the most populated and take up a lot of hard drive capacity.

The purge program gives you the option of saving the purged data to a history folder in case you want to have access to the data through an invoice history search on the Order Entry Options Menu or the Find Order/Invoice Utility on the Order Entry System Menu. TOP allows you to purge by month or by year. This parameter is a field in the Invoice Parameters on the Order Entry Definition Menu.

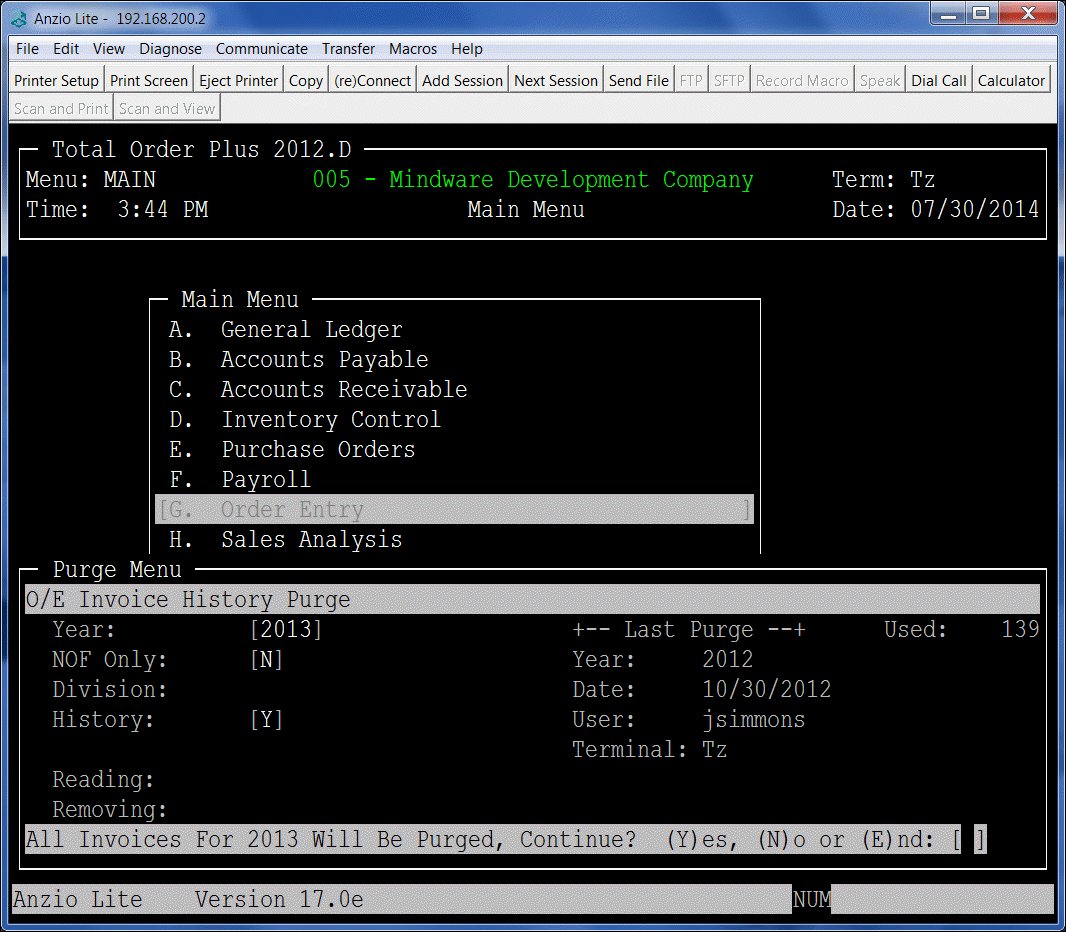
To purge the O/E invoice history files, go to the TOP Main Menu and type ?PM to display the Purge Options Menu. Select A. O/E Inv History. The last year purged information is displayed on the right side of your screen.

Type the year you want to purge, select Yes or No to purge only NOF customers, select division to purge (requires divisions to be set up on your system) and answer Yes or No to save the purged data to a HISTORY folder on the server (files are stored by company number).

The screen below displays the options mentioned above:

PM_Options_Menu


TOP Email Parameters Setup

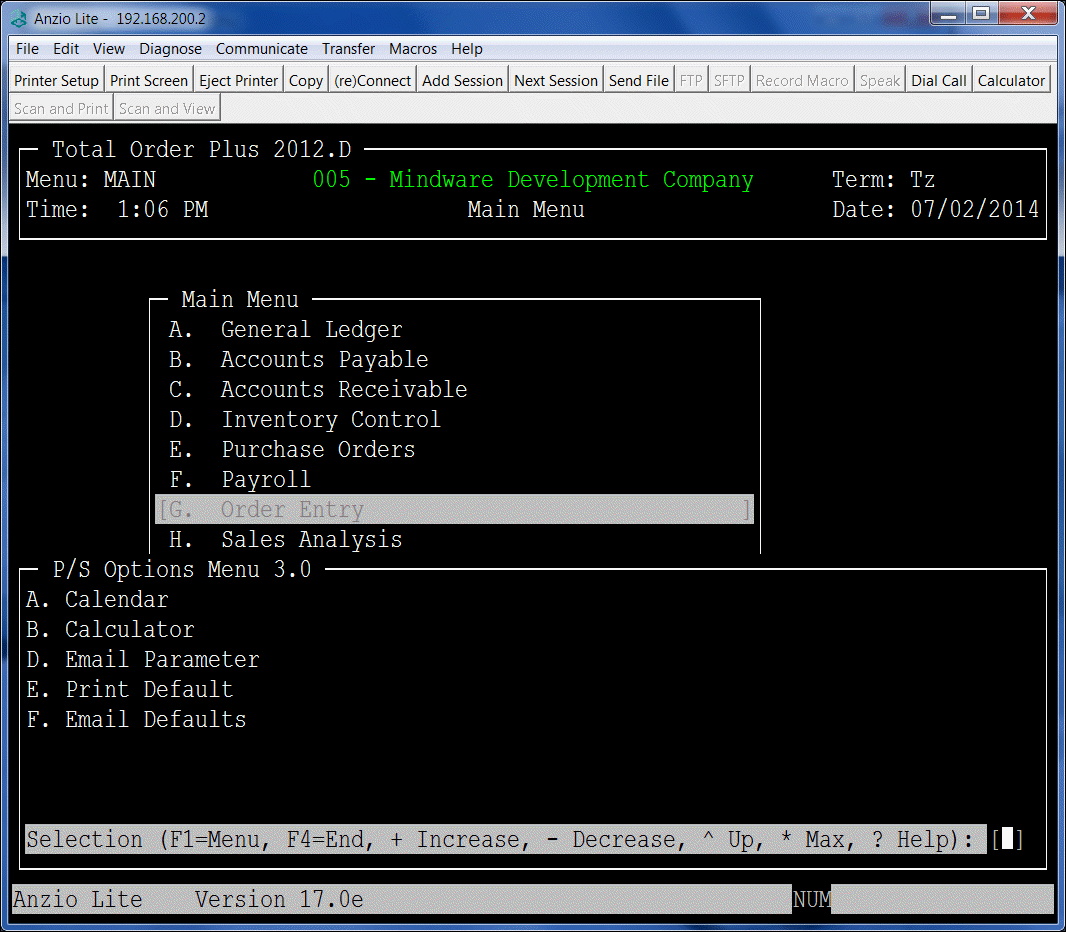
Total Order Plus provides a PS Options Menu with selections that contain a user name and password, a list of reports that can be printed to a PDF for storage in the EXPORT folder and an email default list of programs and contact types contained in the Customer Contact master.

To access the PS Options Menu, type ?PS at the TOP Main Menu.

email_main

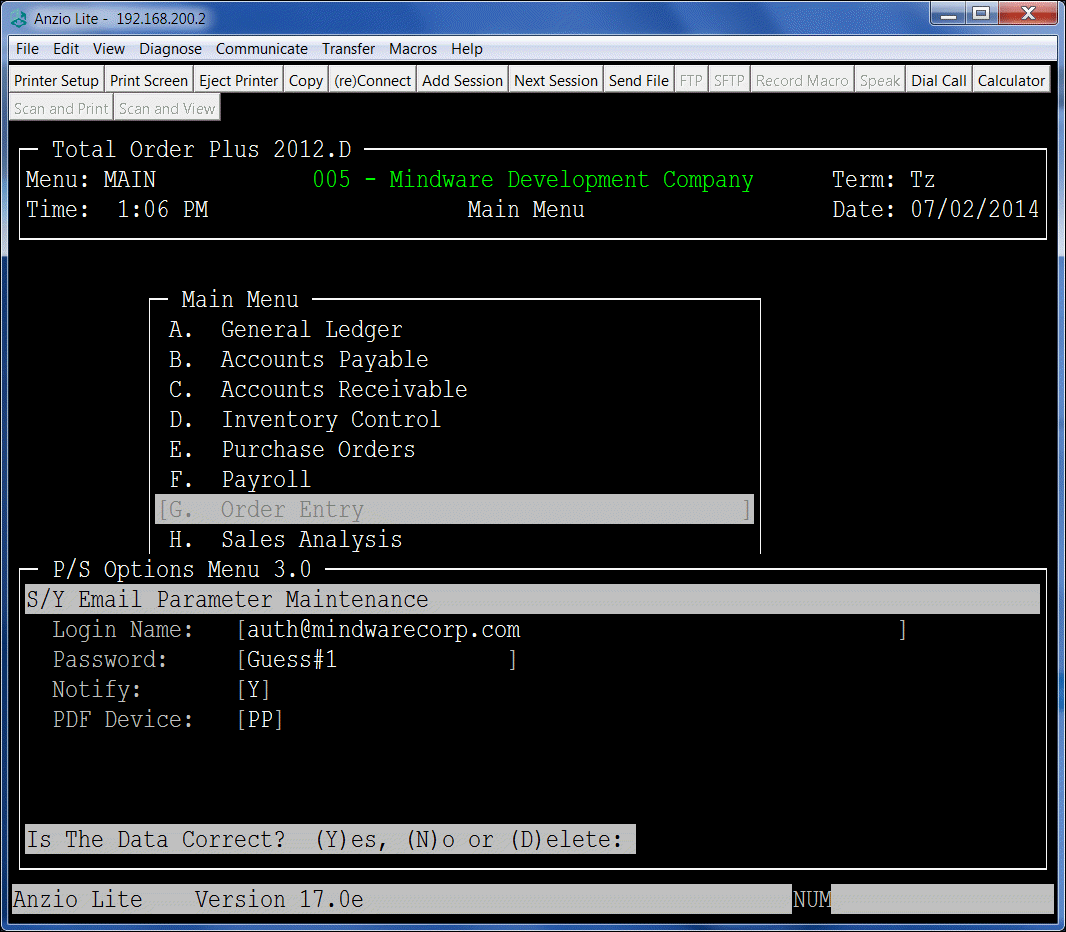
The user name and password must be validated with your Internet Provider in order to pass authentication when sending an email. If you decide to change providers or change the password, it must be a valid combination with your IP or the email will not work.

email_user_name

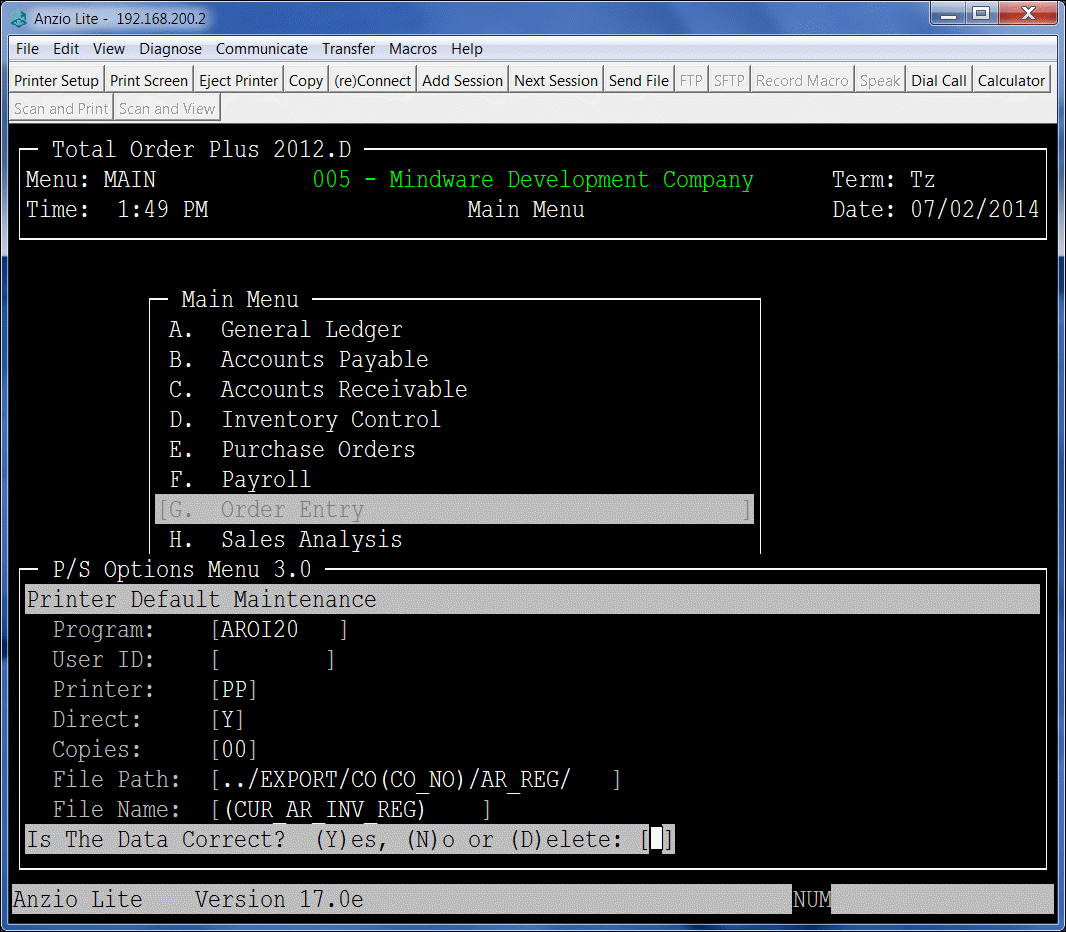
The Email Defaults allows you to print numerous TOP reports to a PDF file saving a lot of paper!  They are saved in the EXPORT (U Drive) so you can view them, attach them to an email, etc. Reports are stored by company number and register number. Below is an example of the A/R Open Invoice Data Entry Register setup.

email_pdf

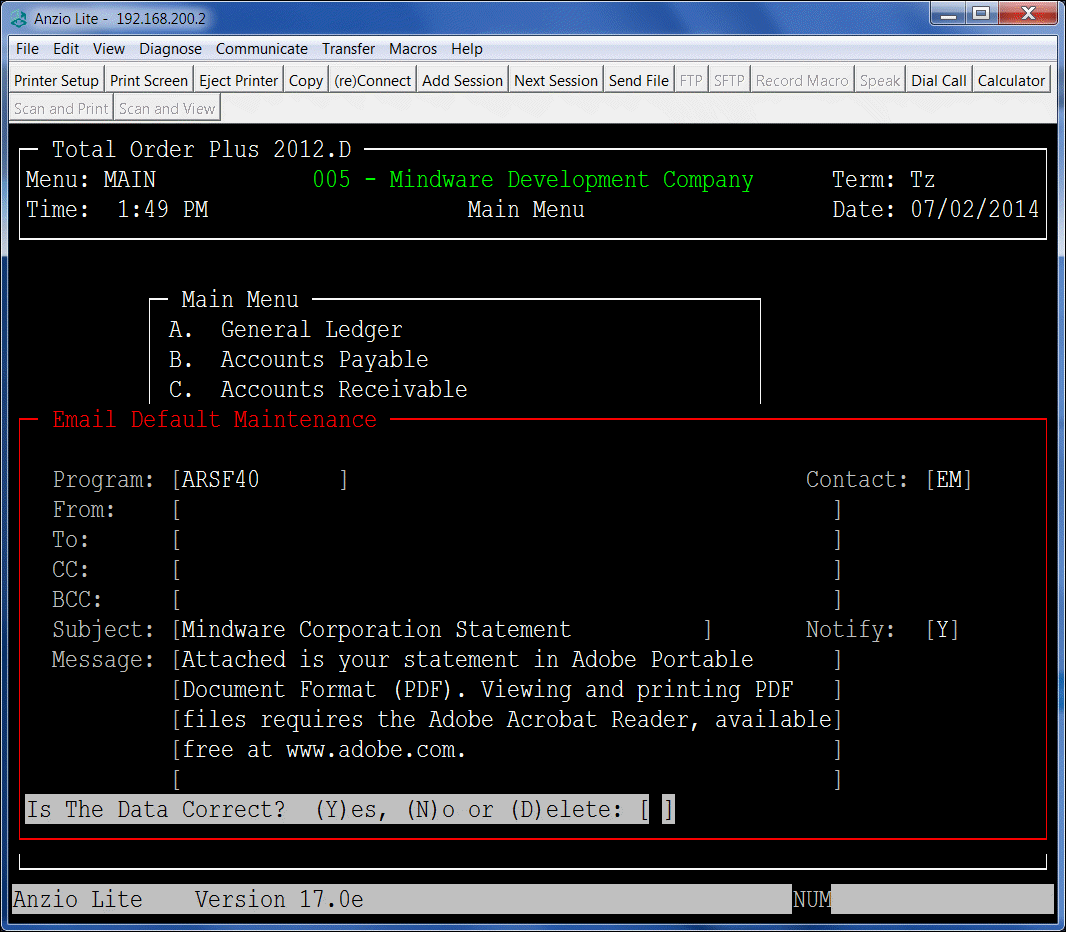
The Print Defaults screen may look familiar to you as the information you enter here will be the default info used in emailing statements, invoices, etc. when you select the (S)end option in TOP.  You can specify the type of customer contacts you want the email to go to, subject line and a message will be included with each email.

email_default


How to Cancel User Processes

There are times when a user is working in Total Order Plus and for whatever reason finds themselves being kicked out of TOP. When this happens, there are files left open that will prohibit you from logging back in and returning to your original input.  This can also cause ‘Error 0 – File Device/Record Busy or Inaccessible’ message.

Instead of trying to track which files were open, it is easier to cancel the user processes which will allow the user to enter the same application and close any open files associated with that user.

To cancel an active user process on your system, you must enter the following commands:

Login: root
Password: xxxxxx (ask system supervisor)

Type in the who command to see what users are logged in:
# who

You can view a list of all active users with their TTY, Date and Time of login and the process they are running.

Notes:

On Red Hat Linux servers, it will also display the IP address of each user.

To view a list of all active processes:
# ps -a

You will be able to see the PID number, the TTY, Time of login and the active process for each user.

To view a list of active processes for just one specific user:

# ps -t ttyxx

The processes for each user is listed on the screen. You must decide what PID number
you want to cancel and what process to cancel for that tty. There are usually multiple
processes running for one user. The process to cancel for Total Order Plus will always
be the Business Basic process (Pro5). You will need that process identification number (PID).

With this information you can enter this command:
# kill  -9  11049 (PID number for BBx)

The system will display a prompt telling you the print job has been cancelled.

To return to the login prompt, type:
# exit

Rebuild Inventory Item Committed Quantites

The Rebuild Options Menu provides utility programs that are necessary to reconstruct data files under certain conditions. One of those conditions would be when you need to delete inventory items that show a zero ending balance but you are unable to because there are quantities displayed in the Quantity on PO, Order Committed or the Invoice Committed fields in the Item Balance & Sales Display on the Inventory Item Master Sub-Menu.

If an inventory item shows a balance in any of the committed fields, you would need to check the Item Order/Invoice Display and the Item Purchase Order Display to get the order or invoice number or the purchase order number. You can delete the open orders, invoices or purchase orders for the items you are wanting to delete. If the display does not show any open orders, invoices or purchase orders but does show a committed balance, you will need to run the utility programs to remove the outstanding balances.

To run the utility programs, go to the TOP Main Menu and type a ? and enter RB to access the Rebuild Utility Menu. You would select I. IC Qty on P.O. and K. IC Item Committed. Once you have completed the rebuild programs, you will be able to delete the inventory items.

Notes:

You may want to run these programs periodically just to keep the committed quantities ‘in sync’. It will require all users to be out of Total Order Plus or at least at the TOP Main Menu.

rebuild_qty


Set Module Date in Total Order Plus

There are two types of dates used with each module in Total Order Plus, the current system date and the application date. The current system date is displayed at the top of the TOP Main Menu. The application date is the date that displays at the top of each TOP Main Menu in each module.

The application date is set for each module from any menu within the module by pressing the F5 key. Each module has its own application date. This date is used to post entries to the General Ledger, allowing postings to prior or future periods in one module without affecting other modules. The application date is used for the order and invoice date, statement date, purchase order date, etc. for each module.

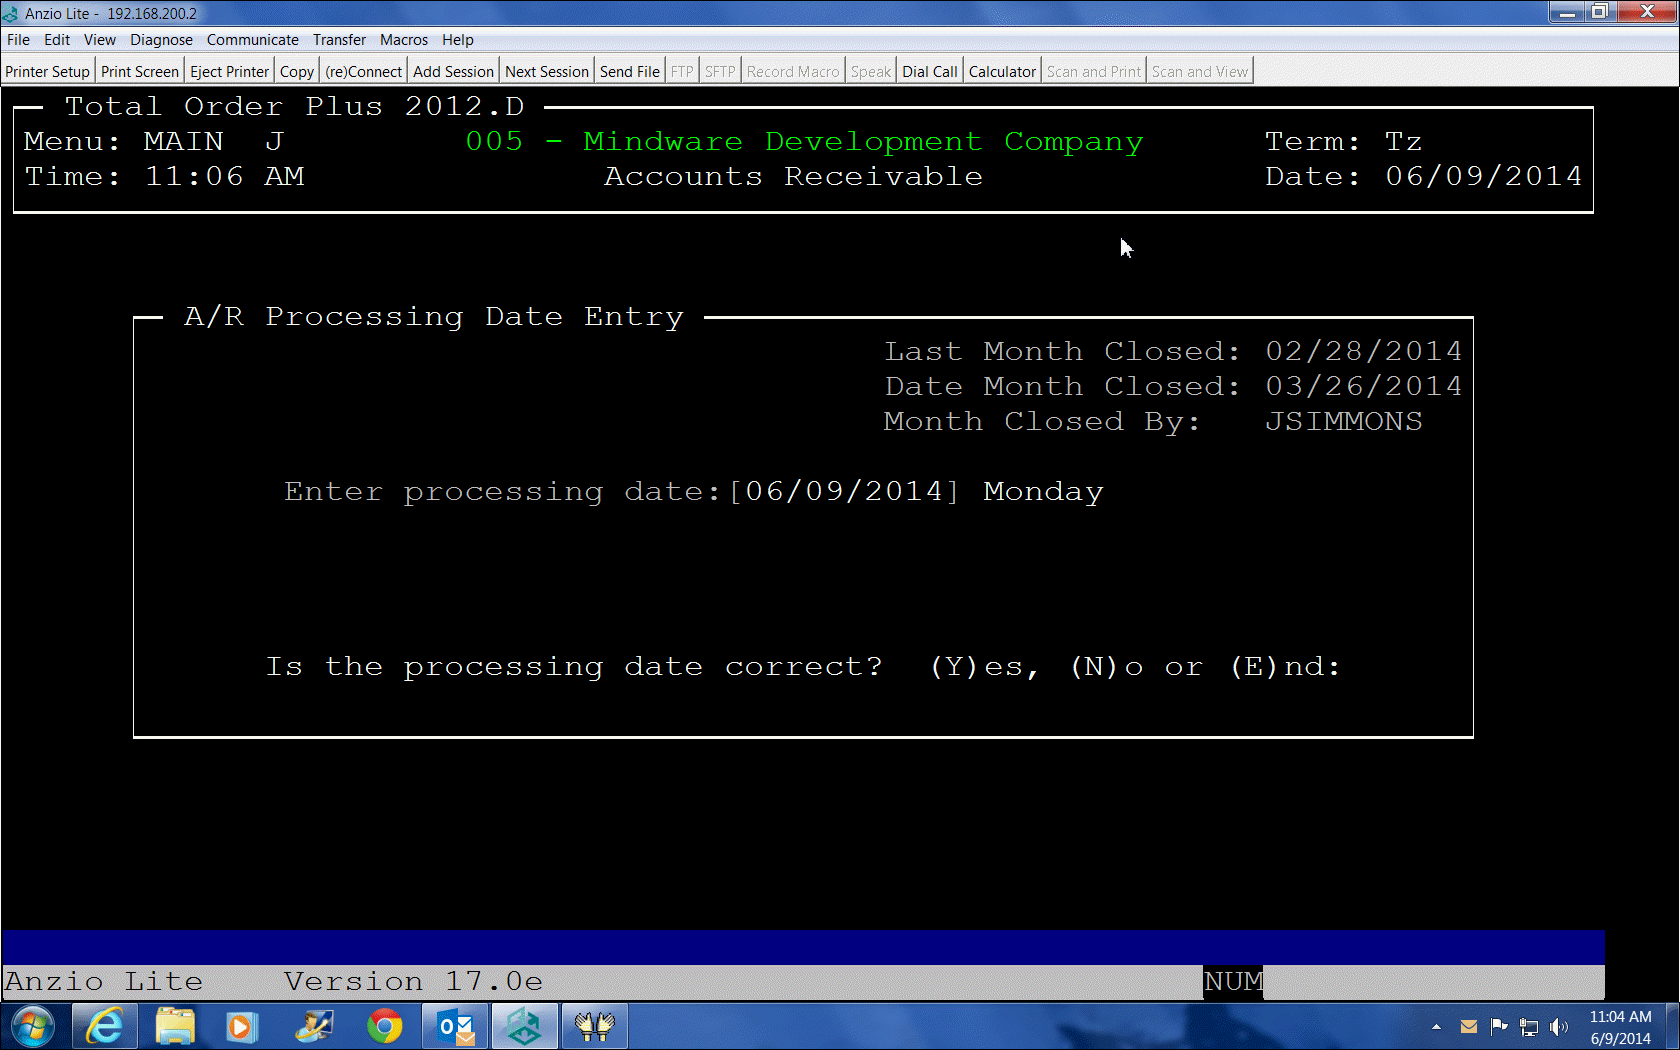
The application date does not get changed automatically by the system and the user is responsible for maintaining the appropriate posting date. Below is the screen image you will see when you press F5 in any TOP module:

date_change