Category Archives: TOP Inventory Control

Steps Prior to Entering a New Inventory Item

Prior to entering a new inventory item, you must first set up segment one codes (and segment two codes, if applicable) and distribution codes located on the Inventory Control Definition Menu. You must also enter product categories and discount classes, located on the Inventory Control Options Menu.

Segment One codes can be used for pricing only, tracking items in inventory, a kit item or manufactured item code. Segment Two defines the manufacturer.

Distribution Code Maintenance is used to tell the system which General Ledger accounts to debit and credit when posting inventory transactions, physical count or sales data. You must set up distribution codes whether or not you are interfaced to the G/L. When you add a new item to the Inventory Master, you assign one of your distribution codes to that item. This tells the system which set of accounts to use when posting the daily transactions.

The product category can be up to 3 characters, with a description of up to 30 characters.  The product code is used to maintain product categories which are used for reporting sales figures for customers on a monthly basis.

The  discount class code is 2 characters in length and the description is 24 characters.  Discount levels are used to automate the discount process in order entry. During order entry, the system checks the customer for a discount level and the item for a discount class to find a discount percentage in the Item Discount Class file.



Kit Item Detail Maintenance

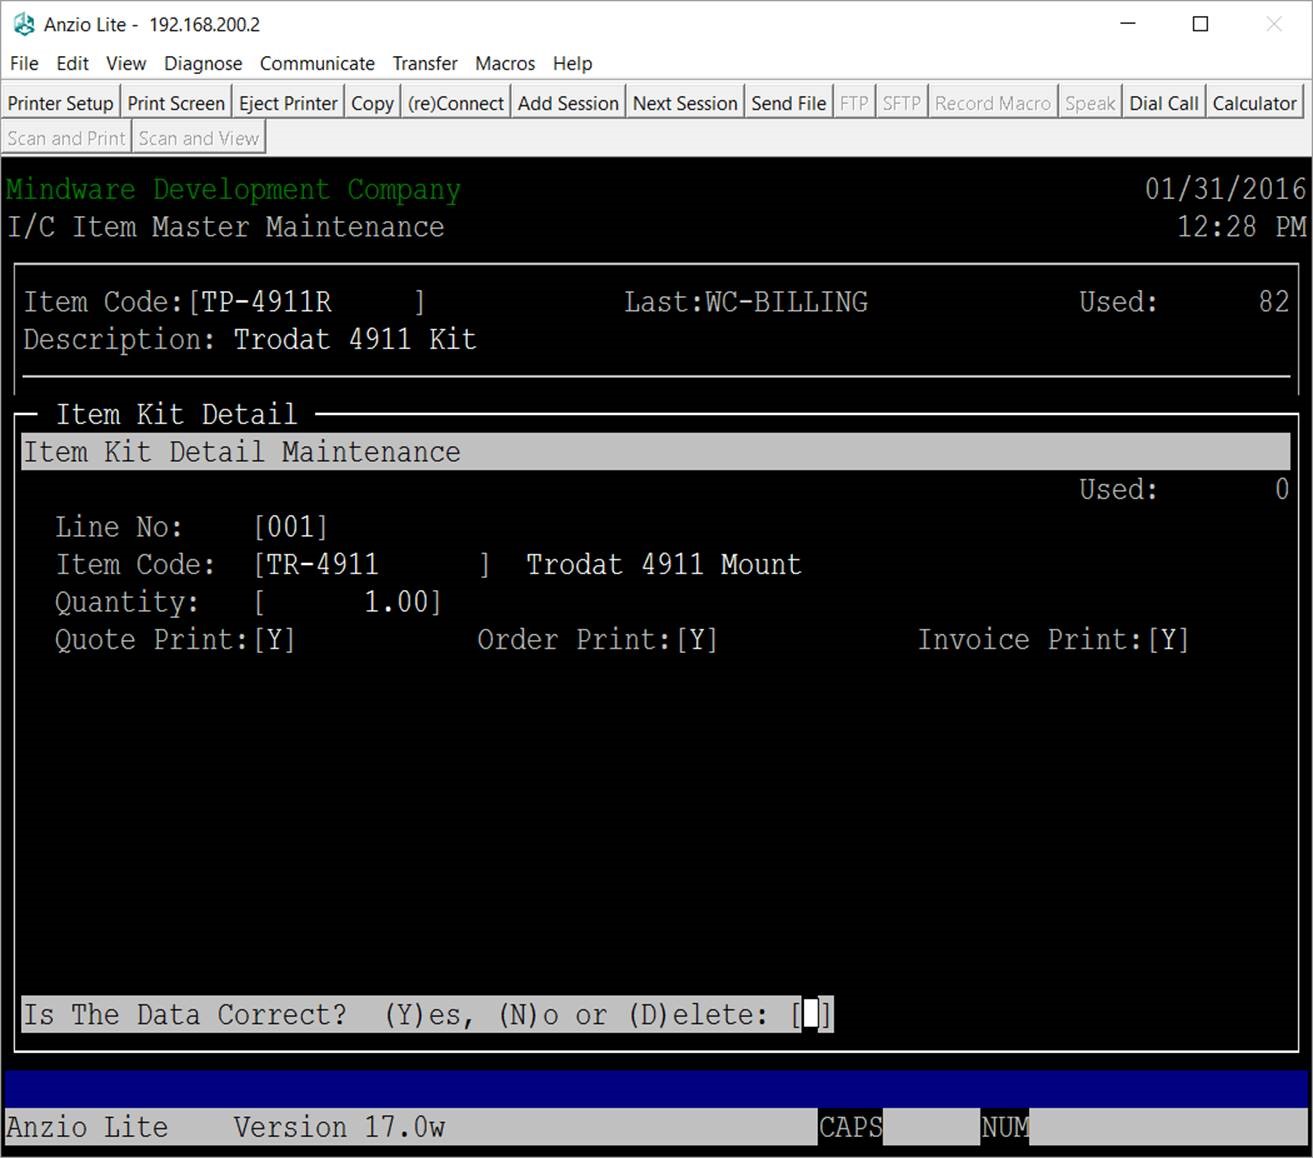
The Item Kit Detail Maintenance allows you to enter each component item number that is used to make up a finished kit item and the quantity of each component that will make up the kit.

The first step is to make sure the Item Type is a ‘K’ in Item Masterfile Maintenance for the finished item. This allows you to be able to enter the Item Kit Detail items that make up the kit.

Each kit item is automatically assigned an line number. You can enter an item code component part number or type a ? to insert an item code. You will enter the quantity that you want included in the kit.

You will be asked if you want the kit item code to print on quotes, orders and invoices.

KIT_ITEM

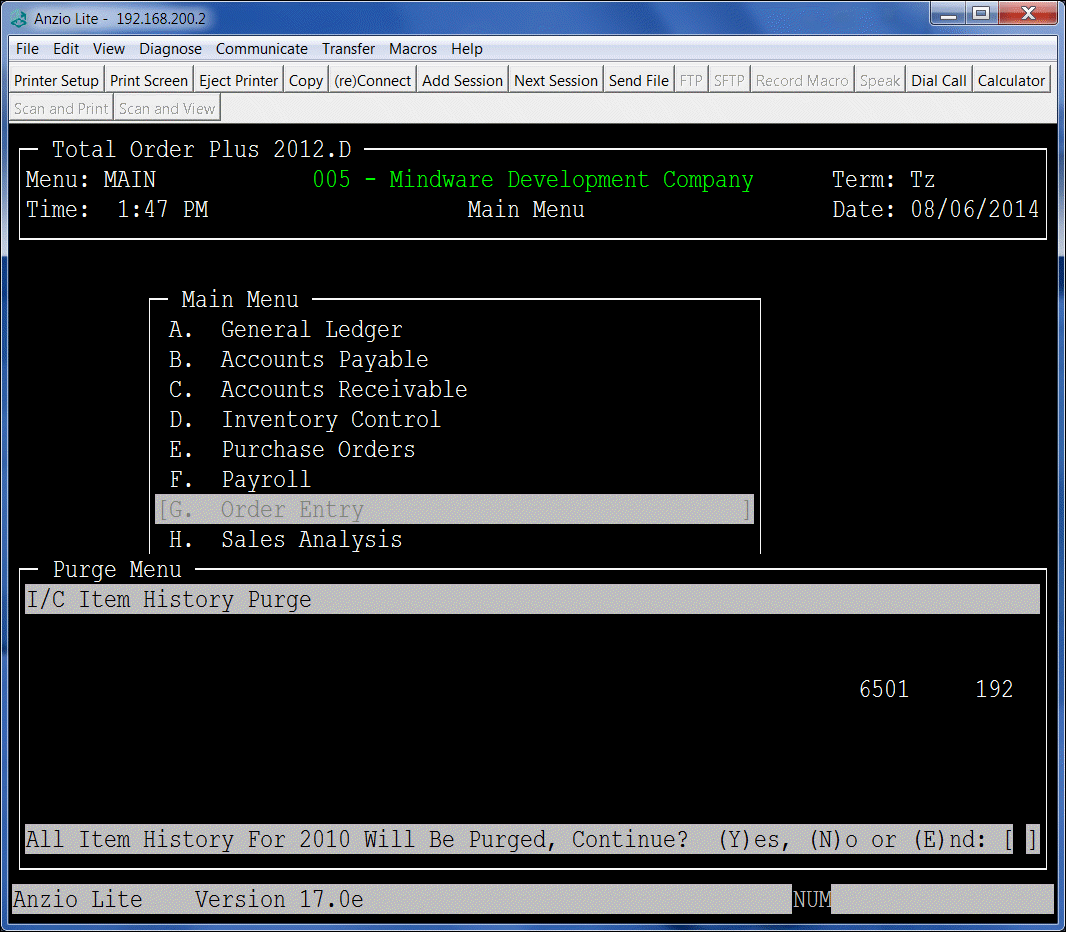
Inventory Item History Purge

Total Order Plus accumulates important invoice data into multiple history files on a daily basis. The files are of a dynamic, multi-keyed structure, which means they continue to increase in size and should be purged on some kind of a time table. In the Business Basis language, there is a maximum file size limit. If a file reaches the maximum, you will not be able to access the file or to down size it to it’s current size. As the file capacity increases, the size of the hard drive decreases as well.

The Inventory Item History Sales Purge program is located on the PM Options Menu. To access the purge programs, type ?PM at the TOP Main Menu and Select G. I/C Item Hist. You will be asked to enter a year to purge. All item sales for that year will be purged.

The Item History Display program is on the Inventory Master Sub-Menu . There is also a hard copy print program Item History Report on the Inventory Control Report Menu.

Item_Sales_purge

Rebuild Inventory Item Committed Quantites

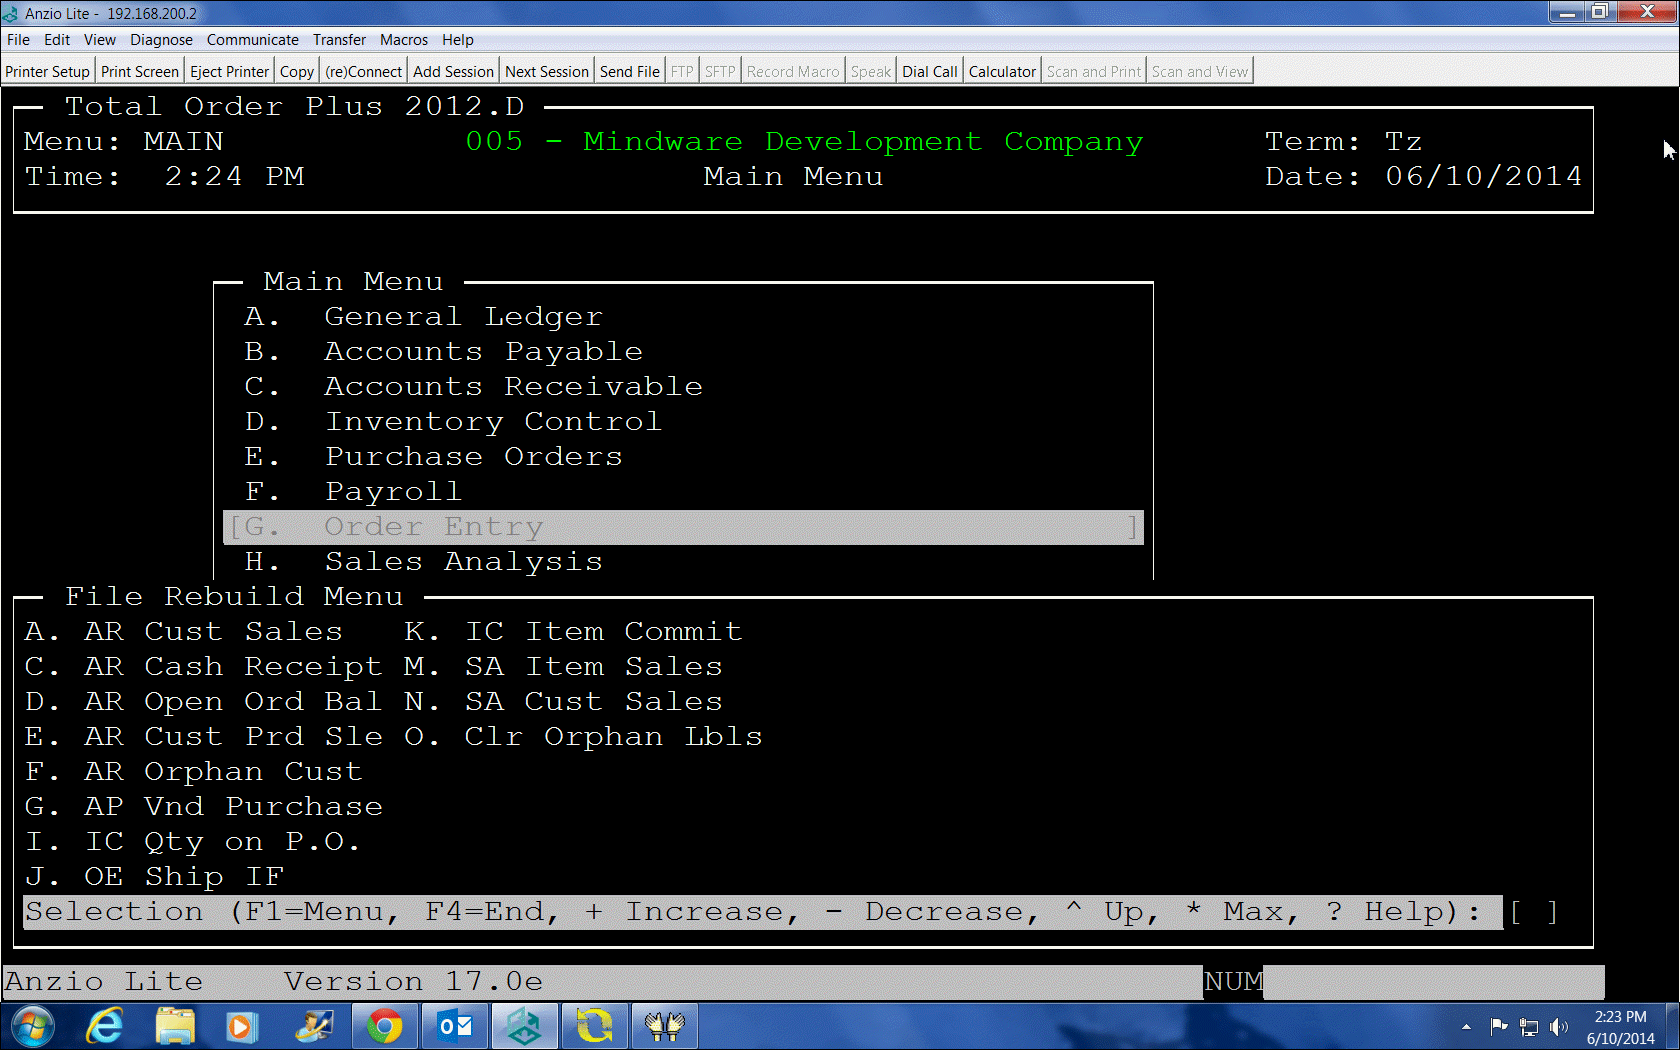
The Rebuild Options Menu provides utility programs that are necessary to reconstruct data files under certain conditions. One of those conditions would be when you need to delete inventory items that show a zero ending balance but you are unable to because there are quantities displayed in the Quantity on PO, Order Committed or the Invoice Committed fields in the Item Balance & Sales Display on the Inventory Item Master Sub-Menu.

If an inventory item shows a balance in any of the committed fields, you would need to check the Item Order/Invoice Display and the Item Purchase Order Display to get the order or invoice number or the purchase order number. You can delete the open orders, invoices or purchase orders for the items you are wanting to delete. If the display does not show any open orders, invoices or purchase orders but does show a committed balance, you will need to run the utility programs to remove the outstanding balances.

To run the utility programs, go to the TOP Main Menu and type a ? and enter RB to access the Rebuild Utility Menu. You would select I. IC Qty on P.O. and K. IC Item Committed. Once you have completed the rebuild programs, you will be able to delete the inventory items.

Notes:

You may want to run these programs periodically just to keep the committed quantities ‘in sync’. It will require all users to be out of Total Order Plus or at least at the TOP Main Menu.

rebuild_qty


Using Inventory Master MSRP Price or List Price

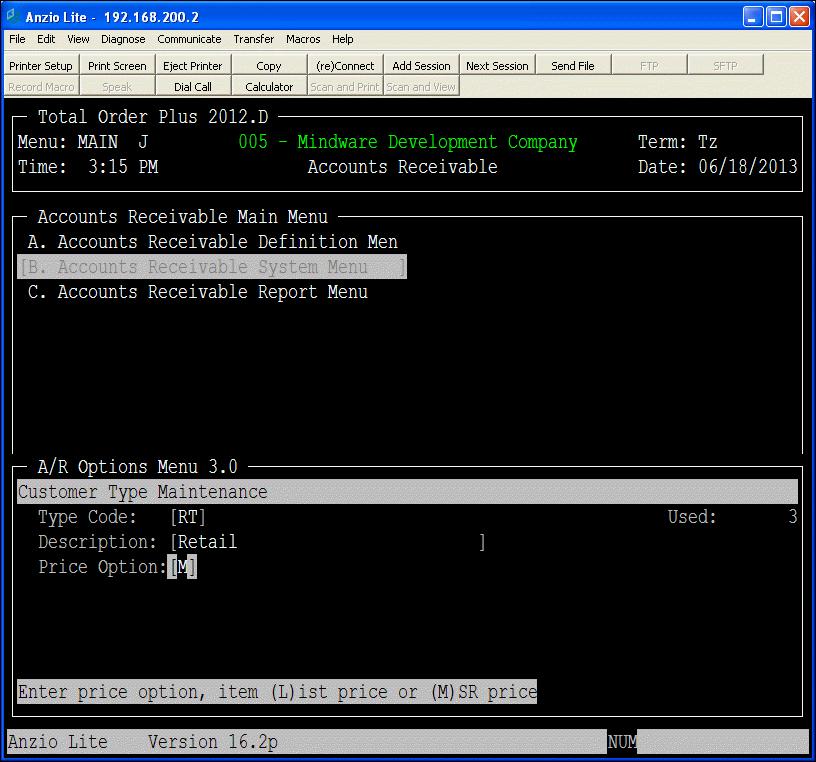
The Total Order Plus Inventory Master has a MSRP (Manufacturers Suggested Retail Price) as well as a List Price. The MSRP can now be used in order entry. The option has been added to the Customer Type Maintenance program on the A/R Options Menu. You can select M for the MSRP or L for list price. The default if L for list price.

When you enter a quote, order or invoice, TOP will automatically check the customer  type in the Customer Master and determine which price to use from the Inventory Master. Contract pricing will remain unchanged.

CUST_TYPE_OPTION

Item Price Change Utility

The Item Price Change Utility on the UM Options Menu allows a user to increase the unit price or the average cost on inventory items by a percentage (up to four (4) decimal points). You can either increase or decrease the price/cost by entering a plus or minus percentage.

You will enter a range of inventory items that you want to include in the price change. You will have the option to change your average cost or the customer’s list price and to enter the percentage to change.

Notes

As an example, a percentage of .05 equals a 5% increase and -.05 will be a 5% decrease.

You will have three rounding options: (D)ollars, 5 (C)ent increments or (N)o rounding. You can opt to be prompted before changing the price/cost on each individual item or let TOP change prices automatically.


Deleting An Inventory Item

TechLine

The Tech Line, by Joanne Simmons


Question:

When I delete an inventory item, I have to spend a lot of time going to each customer’s contract pricing file and remove that item manually. Isn’t there a way to include that file in the deletion process?

Answer:

When an item is deleted in inventory, TOP does a series of checks before removing that item in other files. The item ending balance must be equal to zero and there cannot be any order, invoice or purchase order committed quantities. You will be prompted to answer yes if you want to delete the item if it is a kit component and if you want to confirm the removal of contract prices for that item.

Deleting Inventory Items with Contract Prices

Prior to the new TOP2012 version of Total Order Plus, any time you deleted an inventory item, you would have to manually delete that item out of the contract pricing file for each customer that was getting a contract price on that item.

Now when an item is deleted in inventory, TOP does a series of checks before removing that item in other files. The item ending balance must be equal to zero and there cannot be any order, invoice or purchase order committed quantities. You will be prompted to answer ‘Yes’ if you want to delete the item if it is a kit component and you will also have to confirm the removal of contract prices on each customer for that item.

Inventory Physical Count


TechLine

The Tech Line, by Joanne Simmons

 Question:

When I do an inventory physical count, it would be nice to be able to select which item types I want to include on the count sheets.

Answer:

The ‘Create Inventory Count Sheets’ program allows you to select whether or not you want to include inventory items not currently tracked in inventory or you can select to include all inventory items except for kit items. There is also a new option whether to include discontinued inventory items on the count sheets.