Category Archives: TOP Order Entry

Terms Code Maintenance

Terms Code Maintenance lets you enter codes for multiple purchase terms your company may offer. The code can be a one or two alpha-numeric code,

You can enter up to a 25 characters in the terms description field. You have the option to print the message on the order and designate whether or not this terms code is COD.

The number of days until due will be the number of days from the invoice date until payment is due.

The deposit code is used in cash receipts and will print the pre-payment information on the order and invoice if the terms code used in Order and Invoice Data Entry is set up to do so..

Deposit type is 0=cash, 1=check or 2=credit card and whether you want to print on O-order, I-invoice or B-both order and invoice or N to not print on either one.

The number of days discount is the number of days from from the invoice date in which the invoice payment must be received in order to qualify for a discount. You must enter a discount rate to apply to the invoice total.

The order mask is rather or not you want to print only the last 4 digits of the credit card number on the order and the same with the credit card mask.

The discount days is the number of days to pay in order to get a discount and a discount percent to apply.

Credit Hold would apply to the number of days to hold for a customer’s payment.

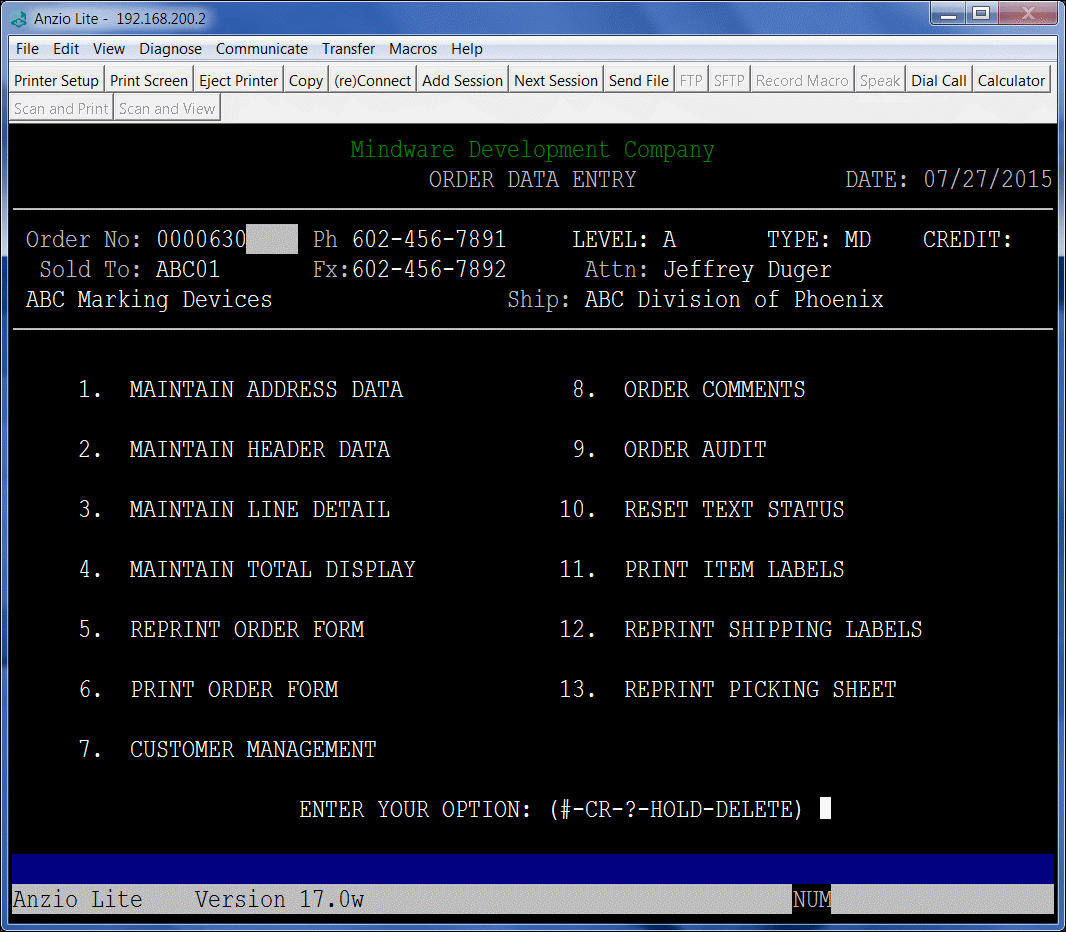
The Terms Code Maintenance is located on the Order Entry Options Menu.

i

‘Order On Hold’ in Total Order Plus Order Data Entry

When entering an order in Order Data Entry, you can place an order on hold if you want to make sure the order doesn’t get converted into an invoice while waiting for additional information or for any other reason.

From the TOP Main Menu, select Order Entry  ->  Order Entry System Menu  ->  Order Entry. Enter the order number to display on your screen. Type HOLD at the bottom of the order menu. You will see a flashing ‘HOLD’ next to the order number at the top of your screen. To reverse the hold, display the order on your screen and again type in ‘HOLD’.

ORDER_HOLD

If you want to convert an order on hold into an invoice, you will see this message display on your screen:

HOLD_MESSAGE

Order Entry Invoice History Purge

Total Order Plus accumulates important invoice data into multiple history files on a daily basis. The files are of a dynamic, multi-keyed structure, which means they continue to increase in size and should be purged on some kind of a time table. In the Business Basis language, there is a maximum file size limit. If a file reaches the maximum, you will not be able to access the file or to down size it to it’s current size. As the file capacity increases, the size of the hard drive decreases as well.

Another reason to keep the history files purged, the files are open during the order and invoice data entry programs and when you search for an invoice or item in history, the time it takes to search through thousands of invoices is considerably decreased.The purge programs are located on the PM Options Menu.

In addition to the invoice history purge, there are other purge programs for cash receipts, customer product sales,A/P invoice and check history, purchase order history and inventory history. The O/E invoice history files are the most populated and take up a lot of hard drive capacity.

The purge program gives you the option of saving the purged data to a history folder in case you want to have access to the data through an invoice history search on the Order Entry Options Menu or the Find Order/Invoice Utility on the Order Entry System Menu. TOP allows you to purge by month or by year. This parameter is a field in the Invoice Parameters on the Order Entry Definition Menu.

To purge the O/E invoice history files, go to the TOP Main Menu and type ?PM to display the Purge Options Menu. Select A. O/E Inv History. The last year purged information is displayed on the right side of your screen.

Type the year you want to purge, select Yes or No to purge only NOF customers, select division to purge (requires divisions to be set up on your system) and answer Yes or No to save the purged data to a HISTORY folder on the server (files are stored by company number).

The screen below displays the options mentioned above:

PM_Options_Menu


Order Entry Credit Memo

A credit memo can be entered in TOP using Invoice Data Entry on the Order Entry System Menu. At the Invoice number field, type a ‘C’ for the invoice number and TOP will assign a credit memo number followed by a ‘CM’. All amounts on the credit memo will automatically display as a credit so do not enter any negative numbers. A messsage line can be used to reflect the invoice number for which the credit is being issued.

Below is an example of a credit memo entry for crediting shipping charges only, reflecting the original invoice number:

OE_CREDITMEMO


Notes:

If the credit memo does not include billable line items, you will be asked if this is a sales tax only credit memo. Answer No to proceed with the credit memo entry.

OE_CREDITMEMO


Order Audit

TechLine

The Tech Line, by Joanne Simmons

Question:

There are times when an order, quote or invoice gets deleted or maybe the prices have been changed and it would be nice to know who deleted or changed pricing, etc . It would be helpful to have a way to know exactly what happened to a document in these situations.

Answer:

Total Order Plus has order audit trails in both order and invoice data entry.

If you enter an order, quote or invoice on the Order Entry System Menu, there is now a new selection on the sub-menu –  ‘Order Audit’ and ‘Invoice Audit’. It will display every action that has been processed on that document.

You can also see the audit trail in the Find Order/Invoice Utility on an order, invoice or quote and history invoices. Below is an example of the Order Audit option.

OrderAudit

Add Comments to History Invoice

You have the option to enter comments to an order in Total Order Plus, which will be stored in the invoice history file. Perhaps an order that you wanted to enter comments is converted into an invoice and updated to the history file before you had a chance to enter your comments. Don’t worry it isn’t too late!

Select Order Entry on the TOP Main Menu -> Select Order Entry System Menu -> Select Find Order/Invoice Utility. Enter Find Option ‘I’ for invoice and the Search Item will be the invoice number. Begin the search until your invoice displays on your screen. You will have numerous selections at the bottom of your screen. You will select (C)omments. The O/E Invoice History Comments input window will allow you to enter multiple lines of text.

INV_HIST_COMMENTS

Sales Tax Only Credit Memo

The Sales Tax field on the Invoice Data Entry total screen does not allow access while entering an invoice. The sales tax amount is calculated automatically in Total Order Plus.

There are instances when you will need to credit or adjust the sales tax amount on an invoice. It may be due to a sales tax percentage change, an invoice processed before the change was made in TOP, tax was calculated on an item that should not have been taxable, etc. Regardless of the reason, TOP allows you to issue a credit invoice for sales tax only.

In Invoice Data Entry, you would enter ‘C’ at the invoice number to start the credit invoice process. TOP will assign an invoice number followed by a CM after the number. Once the customer code and ship to information is entered in the address portion of the invoice, you will proceed to the header portion to enter the information.

Once you get to the line detail input field, you MUST press F4 to bypass entering any line item information. TOP will display the total screen with the message shown below. Once you answer (Y)es to “Is this a sales tax only credit memo? (Y)es or (N)o”:, you will be able to enter the adjusted amount of sales tax. The amount will automatically display as a credit. tax_only_credit_inv

UnForm Parameter Maintenance

The Accounts Payable, Accounts Receivable, Purchase Order and Order Entry modules each have an UnForm Parameter Maintenance program on each of the above mentioned Definition Menus. You are able to set up parameters for each form you want printed in TOP:  checks, statements, purchase orders, orders, invoices and quotes.

Forms names to be used are displayed at the bottom of your screen: CHECK, PO, STATEMENT, ORDER, INVOICE and QUOTE. You can set up a maintenance screen for each division of your company, if applicable, and assign a specific printer for each form.

You can have a custom logo file made with your company information and assign column and line print positions of where you want the logo to print on each form.

You can have up to four copy descriptions, pricing or no pricing, screening or no screening and designate which paper tray on each printer.

You can enter up to two message lines and select either plain, bold or italic or a combination for the message lines format.

Notes:

To view the TOP Help Menu, you can press CTRL+Y at each input field to view the help options.

UNFORM_PARAM

TOP Credit Card Processing

Total Order Plus 2012 creates a text file during the Order Entry daily closing procedure that contains the information for each credit card transaction on each invoice that was paid with a credit card. The information contains the amount of the transaction, credit card number, the month and year of the credit card expiration date, customer code, customer name, address, city, state and zip code.

The file name is created using CC+year+month+day with an extension of .csv. The file is created in the U Drive on the file server (EXPORT drive) in the CO001/CREDIT_CARD folder. You can activate Excel and import the file that can be used to balance your daily credit card transactions. Other programs like NotePad, Word, etc. can be used to view the file. This file can be transferred to your credit card software company. Contact your vendor to see how they want the file transmitted to them.

Anyone interested in making this feature available on your system, please contact Mindware to set the status flag and activate.

Notes:

You must make sure you have your PC is mapped to the EXPORT drive in order to retrieve the files.