Category Archives: Windows

Accessing The DOS Prompt From Windows

Windows XP

To open the Command Prompt (DOS Prompt), click Start -> click Run -> type cmd -> Click OK

Windows 7

To open the Command Prompt (DOS Prompt), click Start  ->  type cmd in the Search programs and files window

That will open up a character based window. To exit the character based window, enter the exit command.


Configure Remote Desktop Host PC in Windows 7

To configure remote access on the host PC, follow these steps:

1. Click on Start  ->  Select Control Panel ->  click System
2. On the System page, click Remote Settings in the left pane

Note:

This opens the System Properties dialog box to the Remote tab.

3. To disable Remote Desktop, select Don’t Allow Connections To This Computer -> Click OK and skip the remaining steps
4. To enable Remote Desktop, you have two options. You can:

Select Allow Connections From Computers Running Any Version Of Remote Desktop (less secure)

or

Select Allow Connections Only From Computers Running Remote Desktop With Network Level Authentication (more secure)

5. Click Select Users to display the Remote Desktop Users dialog box
6. To grant Remote Desktop access to a user, click Add

This opens the Select Users dialog box. In the Select Users dialog box, click Locations to select the computer or domain in which the users you want to work with are located. Type the name of a user you want to work with in the Enter The Object Names To Select field, and then click Check Names. If matches are found, select the account you want to use and then click OK. If no matches are found, update the name you entered and try searching again. Repeat this step as necessary and then click OK.

7. To revoke remote access permissions for a user account, select the account and then click Remove
8. Click OK twice when you have finished

Configure Printing To A Print Server

Configure printing directly to a print server instead of printing through a file server:

1.             Select Start

2.             Select Settings

3.             Select Printers

4.             Select Add Printer

5.             Select Next for Welcome to the Add Printer Wizard

6.             Select Local Printer

7.             Do not check Automatically detect and install my plug and play printer

8.             Select Next

9.             Select Create new port option

10.          Select Standard TCP/IP port for type

11.          Select Next

12.          Select Next for Welcome to the Add Standard TCP/IP Printer Port Wizard

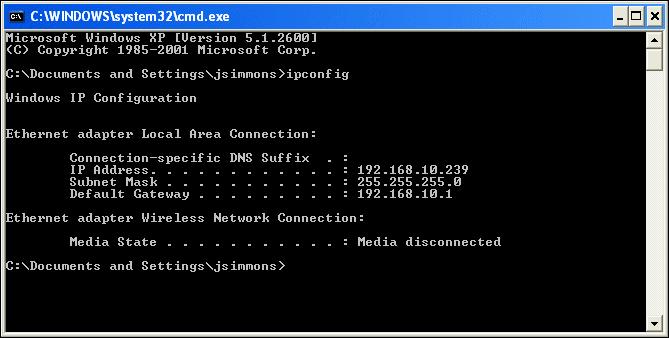
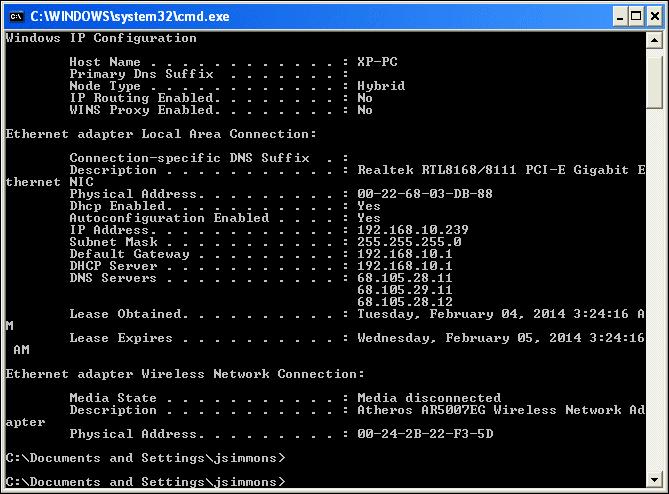
13.          Enter printer IP address (print test page from JetDirect box to get IP address, example: 192.168.1.101)

14.          Port name will display below. If a 3 port print server is used, add a letter A thru C after the port name.

15.          Select Next

16.          Enter Device port (Parallel 1for single ports, Parallel 1, 2 or 3 for 3 port)

17.          Select Next

18.          Select Finish for Completing the Add Standard TCP/IP Printer Port Wizard

19.          Chose manufacturer and printer model

20.          Select Next

21.          Select printer name and printer default option

22.          Select Next

23.          Select Do not share the printer

24.          Select Next for Printer Sharing

25.          Select Next to print test page

26.          Select Finish


Install a printer in Windows 7 using an IP address

1. Click Start and select Devices and Printers.

2. Select Add a printer.

3. Select Add a local printer.

4. Select Create a new port.

5. Select Standard TCP/IP Port. Click Next.

6. Enter printer IP address in the Hostname or IP address (the Port name will default to the same IP address).

Windows 7 - Adding printer by IP address

7. Select the Query the printer and automatically select the driver to use option. Click Next.

8. Windows 7 should find the printer if the printer is on and configured correctly. You may have to specify more information. If prompted, Select the type of network adapter installed in the printer in the Device Type drop-down list. You can also click Custom to specify custom settings for the network printer. Click Next.

Ipconfig Command

To find out what the LAN (Local Area Network) IP address is for your personal computer, you must get to the command prompt (DOS prompt):

Windows XP

Click Start -> Click Run -> Type cmd -> Click Ok

Windows 7

Click Start  ->  Type cmd in the Search programs and files window

Type ipconfig to see the following information:

dos_prompt

Type ipconfig /all to view additional IP information:

DOS_PROMPT_ALL


Type exit to return to your desktop.

Notes:

If you want to see your WAN (Wide Area Network) IP address, open your browser and type www.whatismyip.com

Configure Remote Desktop Windows XP

To allow remote users to connect to a local PC, you would need to complete the following steps:

  • Click on the Start button  ->  Click on Control Panel  ->  Click on System  ->  Click on Remote Tab
  • Click Remote Settings and then select option number 2 under Remote Desktop:
  1. Don’t allow connections to this computer
  2. Allow connections from computers running any version of Remote Desktop (less secure)
  3. Allow connections only from computers using Remote Desktop with Network Level Authenication (more secure)

Notes:

Select the only option Allow users to connect to this computer under Remote Desktop.

If you are prompted for an administrator password or confirmation, type the password or provide confirmation. You can skip the last two steps.

  • Click on the Select Users button (If you are an administrator, your current user account will automatically be added to te list of remote users)  ->  In the Remote Desktop Users dialog box Click Add
  • In the Select Users or Groups dialog box, Click Locations and select the location you want to search  ->  In Enter the Object Names to Select, type the name of the user you want to add  ->  Click OK (Name will display in the list of users)


Send Invitation From LogMeIn

To activate remote access on www.LogMeIn.com, you will need to set up a new account with a user name and password. Once you log in to your account, you will have the option to download LogMeIn software to your PC.

After the download is complete, a LogMeIn icon is displayed in the task bar on your desktop. Click on the icon and enable LogMeIn. You will see an option to Turn Off accessibility to your PC, Send an Invitation or to Share Files.

In order for a remote user to have access to your PC, you would click on Send an Invitation. The name of the invitation displays in the Title field and there is an option to set an expiration date for the invitation in days, hours and minutes. Click on Next -> Check ‘I will send the message myself’.

Click on Next and LogMeIn will create an invitation link. You can select to Copy the link to your clipboard or Create a new email to the remote user. If you select the clipboard option, you will need to create a new email to the remote user and insert the link in the body of the email from the Clipboard. If you selected to create a new email to a remote user, the link is automatically inserted into a newly created email, the subject of the email will display ‘Desktop Sharing link via LogMeIn.com’ and the link will display in the body of the email. Click on Send to transmit the invitation to the remote user.

Notes:

It is important that you set the expiration date to a reasonable amount of time so the invitation doesn’t expire before the remote user is logged off your PC. A specific amount of hours or days would be appropriate depending on the remote user’s needed time of access.