Category Archives: TOP Accounts Receivable

Using Inventory Master MSRP Price or List Price

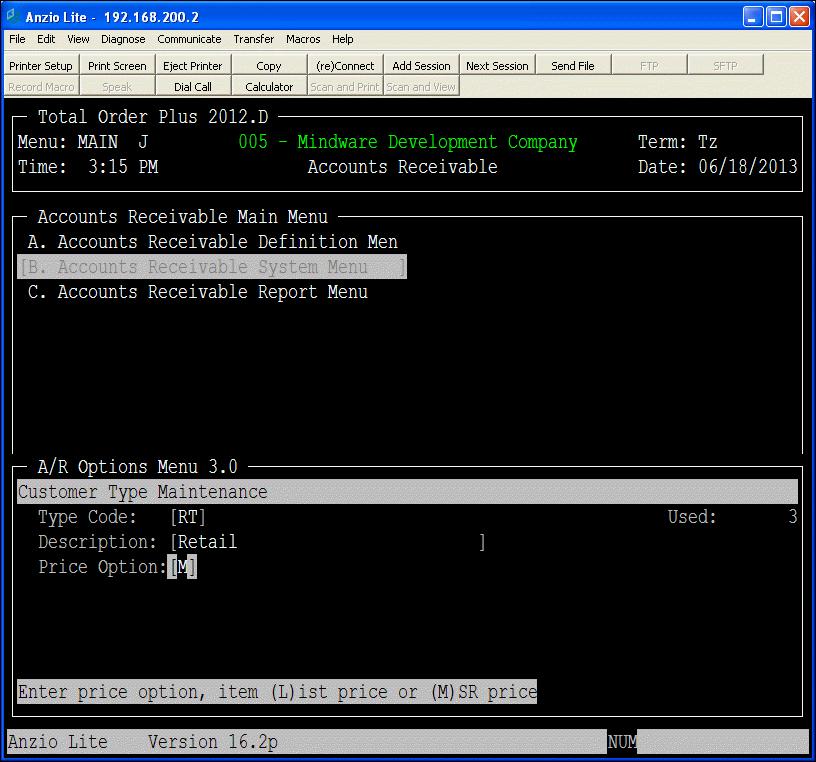
The Total Order Plus Inventory Master has a MSRP (Manufacturers Suggested Retail Price) as well as a List Price. The MSRP can now be used in order entry. The option has been added to the Customer Type Maintenance program on the A/R Options Menu. You can select M for the MSRP or L for list price. The default if L for list price.

When you enter a quote, order or invoice, TOP will automatically check the customer  type in the Customer Master and determine which price to use from the Inventory Master. Contract pricing will remain unchanged.

CUST_TYPE_OPTION

Deleting Inventory Items with Contract Prices

Prior to the new TOP2012 version of Total Order Plus, any time you deleted an inventory item, you would have to manually delete that item out of the contract pricing file for each customer that was getting a contract price on that item.

Now when an item is deleted in inventory, TOP does a series of checks before removing that item in other files. The item ending balance must be equal to zero and there cannot be any order, invoice or purchase order committed quantities. You will be prompted to answer ‘Yes’ if you want to delete the item if it is a kit component and you will also have to confirm the removal of contract prices on each customer for that item.

Set Up TOP Customer Email Contacts

Customer email contacts are set up the same way as other contacts with the exception of the contact type. The contact type must be the same type as in the Email Defaults on the PS Options Menu. The Email Defaults contains a TOP program name and a contact type.

For example, program ARSF40 is the statement print program and may have AP as the contact type. Your email contact would contain the same type in order to email statements to the email address contained in the contact record.

Setting Up TOP Email Parameters

Emailing TOP A/R Statements

To print statements in TOP, access the Accounts Receivable module on the TOP Main Menu -> Select Accounts Receivable System Menu -> Select Period-End Processing Menu -> Select Statement Printing.

The First and Last Customer fields display automatically on your screen. You have the option to override if you are printing statements for one customer or a different range of customers.

Aging Option allows you to print (A)ll statements, statements only with (B)alances or only with balances (O)ver 30 days or balances over (6)0 days. Other options include printing statements that have a credit balance, certain customer types, with a selection option to print (A)ll, (H)ardcopy only, or (E)mail only.

If you select to email statements, you must also select a printer on the TOP printer menu for customers without an email address. The From Address displays from the Email Parameter record or you can override. The To Address must be left blank so it uses the customer’s email address. If you want to email a few statements for testing, you can enter a To Address and they will email to that address.

If you want to send a PDF attachment with each statement, you can enter the file name. The file must be in the EXPORT folder in TOP. If you do not enter the folder name in front of the file name, it will default to the EXPORT folder automatically.

You have three lines of 50 characters each to include a statement message.

Credit Card Access in TOP

TechLine
Question:

When I enter credit card information for customers, I only want my customer service reps to see the entire credit card number. Can this be added to Total Order Plus for additional security?

Answer:

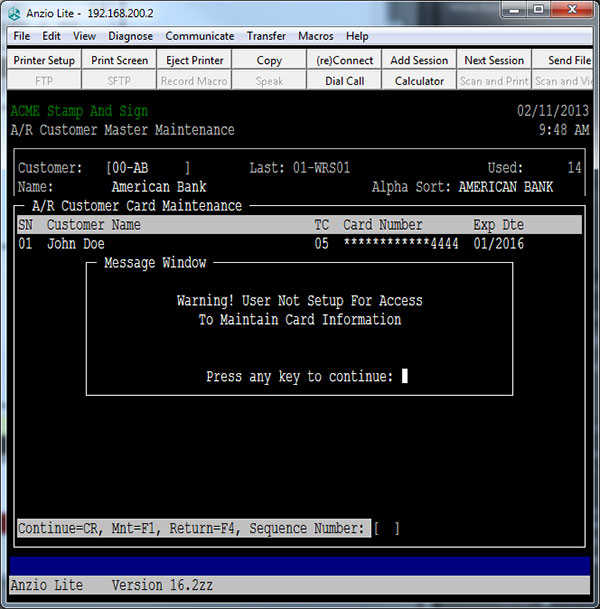
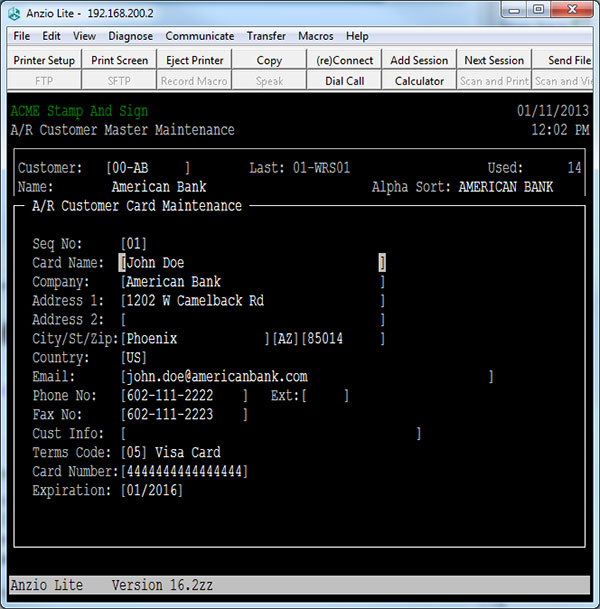
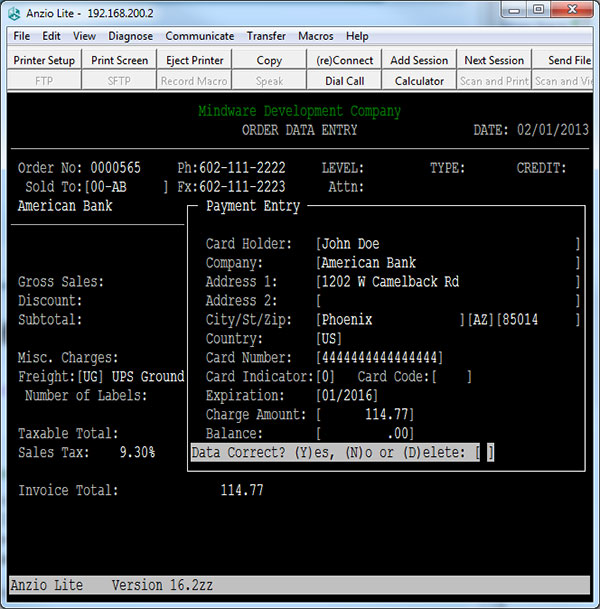
TOP now has a separate maintenance program for credit card information that allows password protection on the Customer Sub-Menu. In addition, you can set up a group code in the A/R Parameters and the group code can be put in the customer rep’s User Maintenance record for the reps you want to be able to see the entire credit card number. When the credit card displays anywhere in the system, it checks the group code to see if the group code matches. If the group code doesn’t match, the credit card is displayed with *’s. If a user without a group code tries to enter maintenance on a credit card record, a warning message will be displayed.

AR_Card_Access

Limiting Customer Credit Card Access

TechLineLogoQuestion:

When I enter credit card information for customers, I only want my customer service reps to see the entire credit card number. Can this be added to Total Order Plus for additional security?

Answer:

TOP now has a separate maintenance program for credit card information that allows password protection on the Customer Sub-Menu. In addition, you can set up a group code in the A/R Parameters and the group code can be put in the customer rep’s User Maintenance record for the reps you want to be able to see the entire credit card number. When the credit card displays anywhere in the system, it checks the group code to see if the group code matches. If the group code doesn’t match, the credit card is displayed with *’s. If a user without a group code tries to enter maintenance on a credit card record, a warning message will be displayed.


A/R End Of Month Closing Procedure

Below is a check list for a normal TOP End of Month closing procedures for Accounts Receivable:

  1. Select Accounts Receivable on the TOP Main Menu -> Select Accounts Receivable System Menu -> Select Period-End Processing Menu
  2. Press F5 to set the module date to the last day of the current month
  3. Select Begin Period End Process
  4. Print Discount Level Sales Report (optional)
  5. Print Sales Tax Report
  6. Print Aged Open Invoice Report
  7. Select Finance Charge menu selections, if applicable
  8. Print Statements
  9. Update Finance Charges, if applicable
  10. Run the Period-End Update
  11. Press F5 to set the menu date to the first day of the next month

Notes:

If this is the 12th month of the year, you will need to answer Y to close the year.


A/R End Of Day Closing Procedure

Below is a check list for a normal TOP End of Day closing procedures for Accounts Receivable:

  1. Select Accounts Receivable on the TOP Main Menu -> Select Accounts Receivable System Menu -> Select Invoice System Menu
  2. Press F5 to set the module date to today’s date
  3. Print the Open Invoice Data Entry Register and Update
  4. Press F5 to set the invoice date to the next day’s processing date

Notes:

If your credit cards post to Cash Receipts automatically, you should print the Cash Receipts Journal and Update.